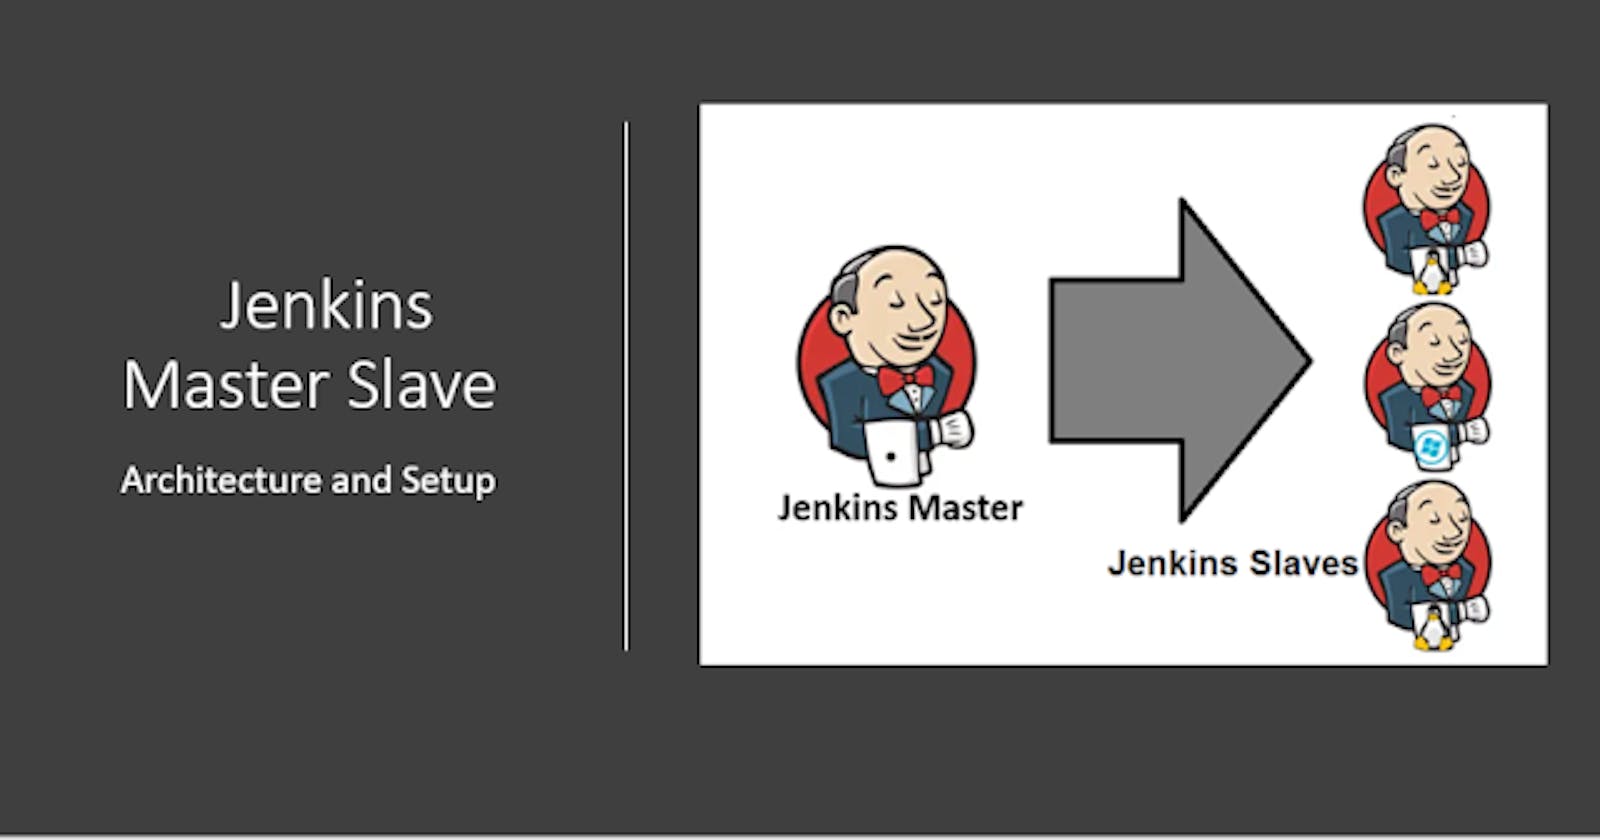
What is a Jenkins Master or (server)?🏗️
The Jenkins Master (server) is the central hub where all the magic happens. It coordinates the entire CI/CD pipeline, orchestrating tasks such as building, testing, and deploying applications. 🔄 Its user-friendly interface and extensive plugin support make it a favorite among developers and DevOps engineers alike. With Jenkins, you can automate repetitive tasks, ensuring faster and more reliable software delivery.
Jenkins’s server or master node holds all key configurations. The Jenkins master server is like a control server that orchestrates all the workflow defined in the pipelines. For example, scheduling a job, monitoring the jobs, etc.
What is Jenkins Agent?
Jenkins Agents, also known as "slaves," are the dedicated workers who carry out the heavy lifting. They run on separate machines and execute jobs assigned by the Master. Agents come in handy when your projects have diverse requirements, such as different operating systems or specialized toolsets. 🛠️ Jenkins allows you to scale your CI/CD infrastructure by adding more Agents as needed, accommodating larger workloads.
An agent is typically a machine or container that connects to a Jenkins master and this agent executes all the steps mentioned in a Job. When you create a Jenkins job, you have to assign an agent to it. Every agent has a label as a unique identifier.
When you trigger a Jenkins job from the master, the actual execution happens on the agent node that is configured in the job.
A single, monolithic Jenkins installation can work great for a small team with a relatively small number of projects. As your needs grow, however, it often becomes necessary to scale up. Jenkins provides a way to do this called “master to agent connection.” Instead of serving the Jenkins UI and running build jobs all on a single system, you can provide Jenkins with agents to handle the execution of jobs while the master serves the Jenkins UI and acts as a control node.

Task 1:
Create a new AWS EC2 Instance and connect it to the master(Where Jenkins is installed)
Step 1: Create a new server named Jenkins Agent and we already have Jenkins master server.

The connection of the master and agent requires SSH and the public-private key pair exchange.
Step 1: Generate SSH keys on “Jenkins-master” by running “ssh-keygen” and do ls to see the private and public key.

Step 2: Now go to the Jenkins-agent server go to .ssh/ folder and paste the public key of Jenkins-master in .ssh/authorized_keys.


Step 3: To check whether the master and agent servers are connected or not.
Go to Jenkins master server and type ssh ubuntu@(ip-address-of-jenkins-agent-server).

Task 2:
Now Build a job using an agent.
Step 1: Go to Manage Jenkins and click on Nodes.

Step 2: Now click on New Node and give a name to the node and add the description and other details.


Step 3: Now you have to add Credentials.

Step 4: In Private Key enter the private key of the Master node.

Step 5: And then select the known hosts file Verification Strategy and save it.

Step 6: Now your agent node is ready and in sync.

Step 7: Click on Build now or you can use GitHub-webhooks and make changes to the code on Github that will automatically start the build.


